
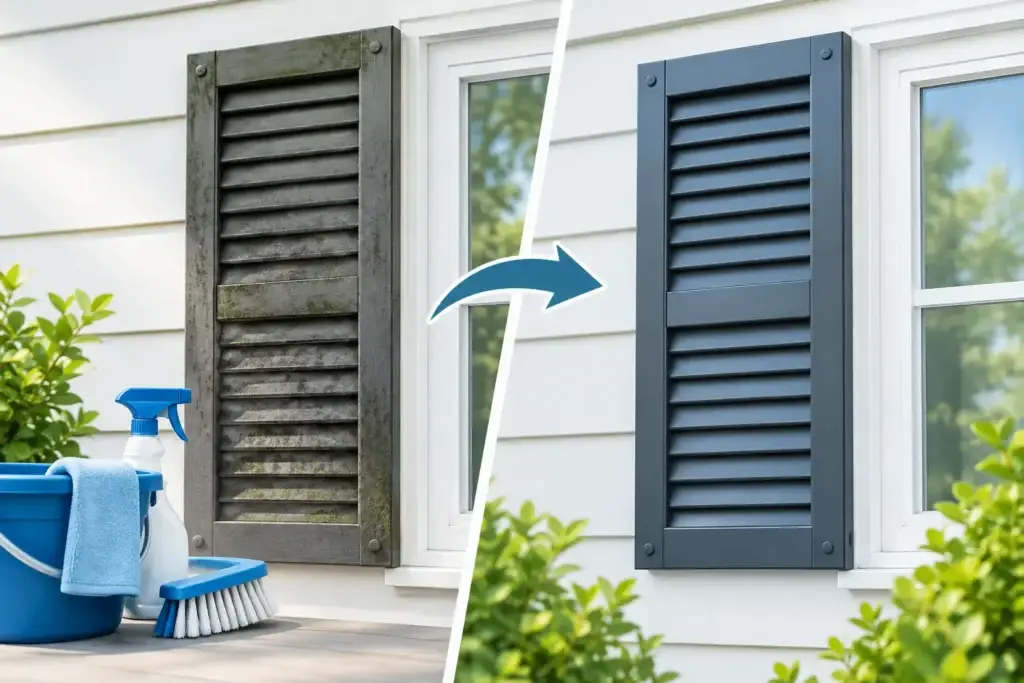
Vinyl shutters can make a clean home look neglected fast. A few dark streaks, green mildew spots, or layers of pollen stand out against light-colored siding, especially after a damp Connecticut spring or a humid summer. The good news is that it is usually straightforward to clean vinyl shutters – as long as you use the right method and resist the urge to blast them with high pressure.
Vinyl is durable, but shutters have thin slats, seams, mounting hardware, and small spaces that can hold moisture and organic growth. A careful cleaning removes the grime without fading the finish, forcing water behind the shutter, or damaging the siding around it.
Why Vinyl Shutters Get Dirty So Quickly
Exterior shutters collect more than ordinary dust. Their angled louvers catch airborne dirt, pollen, cobwebs, and leaf debris. North-facing walls and areas shaded by trees stay damp longer, creating the right conditions for mildew, algae, and mold-like staining.
Coastal moisture can add to the problem for homes near Mystic, Stonington, and the Rhode Island shoreline. Inland homes deal with the same issue when landscaping crowds the exterior, gutters overflow, or trees keep sections of the home out of direct sun. The staining may look like a surface-level cosmetic issue, but recurring growth often points to excess moisture that deserves attention.
Dark vinyl shutters can also show oxidation, which appears as a dull, chalky film. Oxidation needs a gentler approach than basic dirt. Aggressive scrubbing or strong pressure can make the finish look worse instead of better.
The Safest Way to Clean Vinyl Shutters
For routine dirt and light mildew, start with low pressure, a vinyl-safe exterior cleaner, and a soft brush or microfiber cloth. Cleaning on a cool, overcast day is ideal. Hot direct sun can dry cleaning products too quickly and leave streaks on dark shutters.
Begin by rinsing the shutter with a garden hose. This loosens dry debris and keeps the cleaning solution from soaking into a dusty surface. Apply your diluted cleaner from the bottom up, which helps prevent drip marks. Let it sit briefly according to the product directions, but do not allow it to dry on the vinyl.
Use a soft-bristle brush to work across the shutter face and between the louvers. You do not need to scrub hard. The goal is to lift the buildup after the cleaner has done most of the work. Rinse thoroughly from top to bottom, paying close attention to the seams, shutter edges, and the siding directly below.
A simple bucket of mild dish soap and water can handle light dirt. For mildew or algae, use an exterior cleaner designed for vinyl surfaces and follow the label exactly. Never mix cleaning products. Combining chemicals can create harmful fumes or damage the surface you are trying to protect.
Avoid High Pressure on Shutters
A pressure washer may seem like the fastest answer, but high pressure is rarely the best way to clean shutters. Water can be driven behind the vinyl and into the siding, where it may remain trapped. Strong spray can also crack older shutters, loosen fasteners, strip oxidation unevenly, or leave visible wand marks.
Professional soft washing uses a controlled cleaning solution and low-pressure rinse to remove organic growth safely. It is particularly useful when shutters are high up, heavily stained, or part of a larger house-washing project. The right process treats the growth instead of simply pushing it around with force.
A Practical Cleaning Process for Homeowners
Before you start, protect nearby plants by watering them lightly. Covering delicate landscaping may be helpful for stronger exterior cleaning products, but do not trap plants under plastic for long in warm weather. Close windows, move outdoor furniture, and keep pets and children away from the work area until the surface is rinsed.
Work on one small section at a time. This gives you enough control to keep cleaner from drying and lets you see whether staining is lifting evenly. If the shutter has deep grooves, an old soft toothbrush can reach tight corners without scratching the vinyl.
After rinsing, step back and inspect the shutters from several angles. Some mildew stains fade as the surface dries, while heavy buildup may need a second light application. Repeating a gentle treatment is safer than using more pressure or harsher chemicals on the first pass.
If you remove a shutter for cleaning, take care with the mounting points. Vinyl can become brittle with age, particularly after years of sun exposure. If a shutter bends, rattles, or has cracked fasteners, cleaning alone will not solve the problem. It may be time for a repair or replacement.
When Stains Are More Than Surface Dirt
Not every dark mark on vinyl is mildew. Rust stains can come from nearby hardware, irrigation water, or metal fixtures. Black streaks may be runoff from gutters or roofing materials. White chalkiness is often oxidation, while blotchy fading can come from sun exposure and age.
These issues respond differently to cleaning. A mildew treatment may not remove rust, and hard brushing will not restore faded vinyl color. This is where an experienced exterior cleaning professional can save time and prevent an expensive mistake. Identifying the stain before applying a product matters.
Pay attention to how quickly the grime returns. Shutters that develop green growth again within a few months may be near clogged gutters, leaking downspouts, dense shrubs, or consistently wet siding. Correcting the moisture source helps keep the exterior cleaner longer and supports the condition of the home as a whole.
How Often Should You Clean Vinyl Shutters?
Most homeowners benefit from cleaning vinyl shutters once a year as part of regular exterior maintenance. Homes surrounded by trees, close to the coast, or located in shaded areas may need service every six to nine months. A spring cleaning removes winter grime and pollen buildup, while a fall inspection can catch mildew before it sits through a wet season.
You do not have to wait until the shutters look black or green. Early cleaning is easier, gentler, and usually more effective. It also gives you a chance to notice loose shutters, deteriorating caulk, insect nests, or drainage problems around windows and gutters.
For many properties, pairing shutter cleaning with a full house wash delivers the best result. Clean shutters against dingy siding can look out of place, while clean siding can make stained shutters more obvious. Treating the exterior together creates a consistent finish and reduces the chance of missed areas.
When to Call a Professional Soft Washing Team
DIY cleaning works well for accessible shutters with light buildup. Professional service is a better fit when shutters are two stories high, staining is widespread, vinyl is heavily oxidized, or the home needs complete exterior care. It is also a smart option for property owners who want visible results without spending a weekend moving ladders, mixing cleaners, and rinsing every louver by hand.
CT Softwash LLC uses surface-appropriate cleaning methods to remove mildew, algae, dirt, and staining without the unnecessary risk of high-pressure damage. Licensed and insured technicians can clean shutters as part of a house washing service while addressing the surrounding siding, trim, gutters, and other exterior surfaces that affect curb appeal.
Clean shutters are a small detail, but they change the way the whole front of a home looks. Keep the process gentle, address recurring moisture, and choose professional soft washing when the condition of the surface or the height of the job makes safety the better choice.